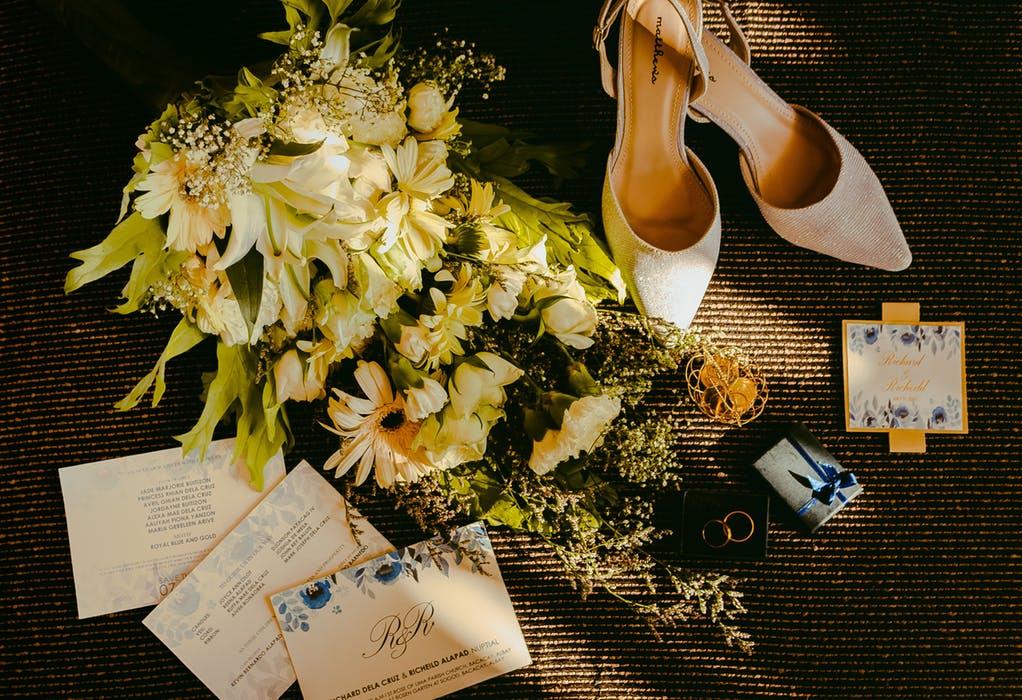
If you’re doing your big day on a small budget, creating your own wedding cards is a great alternative to purchasing expensive cards through a designer.
Planning a marital ceremony can be stressful – it’s important that making your own cards is straightforward and hassle free. Thankfully, there are a number of digital resources that make the process incredibly easy – and also a lot of fun!
You don’t need to be a skilled designer to DIY your wedding invitations; tools like Canva and Adobe Spark allow you to create them with ease, erase your mistakes, try different options and share your designs with friends. Of course, you can make your cards as simple or as complex as you like – it all depends on what you’re after and how much time you have to spend on them.
Figure out your wording
The first step in the design process is to decide what information you’ll be including on your wedding invitations. Open up a Word document and figure out your wording, making sure to include details like request, time and date, names, location and RSVP details.
Sketch (or choose) a design
You’ll then need to decide what you want your design to look like. Online evite sites will generally provide you with a gallery of premade options, or you can start your own from scratch. Get inspired by other designs online and then draw a rough sketch on a piece of paper to get an idea of what you want. Make sure you establish what theme and colour scheme you’ll be using, too.
Select your shape and size
Evite sites offer a number of different shapes and sizes for printing your wedding invitations. You might be content with the traditional 5 x 7 inch rectangle or you might want to be a bit different and opt for a square one. Whatever you desire, you can have!
Choose your images
Choose images that pair well with your theme. If you’re having a romantic fairy-tale affair, flowers will look great. If you’re having a celestial marital ceremony, look for star and moon images. Ensure that you use images that you’re allowed to use – public domain unless you’ve paid for your images.
Select a typography style
Your choice of typefaces will have a huge impact on the overall look of your wedding invitations given the importance of text in this context. Bold or script typefaces generally work best for headings (such as the names of the couple getting hitched), whereas thin, regular and easy-to-read typefaces are ideal for secondary text. Other typography pairings include thick and thin, serif and sans-serif, and regular and italics.
Figure out printing
Working out how to print your wedding invitations properly is often the most stressful part of the process – it’s unfortunately all too easy for a print job to go wrong! First, establish what kind of paper you want to print on. Options include matte, parchment, marble, vellum, glassine, recycled and linen.
Next, decide what printing method you’d like to use – this can potentially be expensive as you may need to hire someone with the appropriate tools. Letterpress presses letter plates into the paper to create a lovely indented look. Engraving allows you to create raised letters on your wedding invitations but is quite costly. Digital or offset printing is the cheapest option, ideal for people who want to print at home.
If you’re printing your cards through a business (and not your home printer), make sure to do so far in advance of your marital ceremony to ensure they arrive on time and look the way you want them to.
